Camtasia makes it easy to record and create professional videos on Windows and Mac.

Before uploading your video contents to the system in Vedubox LMS, your video contents must be created.

There are many softwares on video content. The first of these is Camtasia Studio.
What is Camtasia Studio?
Developed by TechSmith, Camtasia Studio is a program where you can record screen and edit on audio with different videos.
You can improve your recordings with the built in video editor tools; unique effects, editing panels, animations, transition effects, videos, sounds and more.
Why Camtasia Studio?
- Camtasia Studio works in harmony with all applications while recording screen.
- The editing screen is extremely simple to use.
- You can use Camtasia ready made templates while editing your video.
- You can use ready made objects from the Camtasia library.
- You can customize screen recording sizes.
- You can record the camera during screen recording.
- You can record external and internal microphones during screen recording.
- You can add music and sound effects during video editing.
- You can record from your mobile device with Camtasia Studio on your computer.
- You can add annotations to your videos.
- You can add ready made Camtasia animations to your videos.
- You can show cursor highlights in your screen recordings.
- You can add frames to your screen recordings.
- You can add subtitles to your videos.
- You can change the background of your videos with green screen technology.
- With Camtasia Studio, you can quickly upload your videos to different platforms.
How to Download Camtasia Studio?
You can download the free trial version from the Techsmith official site.
You can access the Techsmith official website here.

How to Use Camtasia Studio?
First, let's get to know the interface.
When we open the program, we are greeted with the following screen.
New Project: Create a new project.
New Recording: Create new screen recording
Open Project: Opens an already saved project.
Show on Launch: Activates showing on boot.

Select the "New Project" option.

The video editor tools in the application provide us with features;
- Media: Media file.
- Annotations: Means annotations.
- Transitions: Transition effects
- Behaviors: instrumental behaviors
- Animations: Animations
- Cursor Effect: Cursor effect
- Voice Narration: Voice narration
- Audio Effect: Sound effect
- Visual Effect: Visual effect
- Interactivity: Interactivity
Media
Here you can add media files such as videos, photos, mp4, mp3. You can put it in Layer to edit later.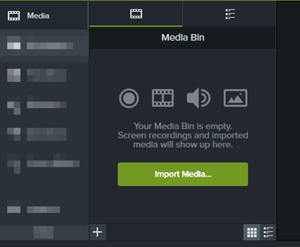
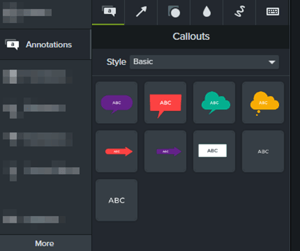
Annotations
You can add annotations for the video. For example, blur, text, keystroke, arrow sign.
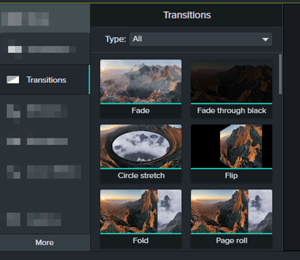
Transitions
It means transition effects. You can use this tab when switching from one video in Layer to another video.
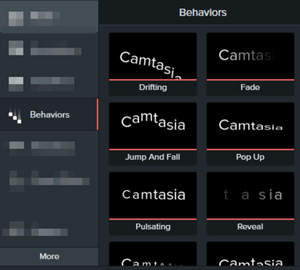
Behaviors
It means behavior. You can set the behavior of any media file.
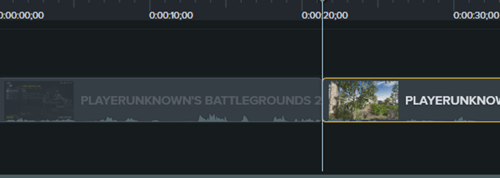
How Can I Cut Video?
By clicking on the video in the layer, you can come to the place you specify and press the "S" key to separate it.
To cut a small gap, you can set it with the red and green bars and use the delete key.
After making all your arrangements, you can select the local file section with the export button and use the appropriate resolution options and save your video with mp4 extension.

