The following roles and terms have the same functionality:
| Vedubox EDU | Vedubox Corporate |
| Student | User |
You can watch our video below explaining how to create Student/User accounts:
You can create student accounts with your administrator account.
- Single student registration
- Batch student registration
Single student registration:
Tip: Single student registration is only practical if you have few students to batch create or if you have new additional students. In systems where the number of students is large, batch registering students is the suggested method.
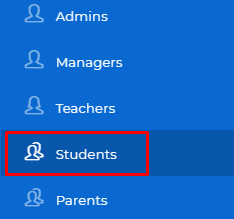
Log in as administrator and click students.
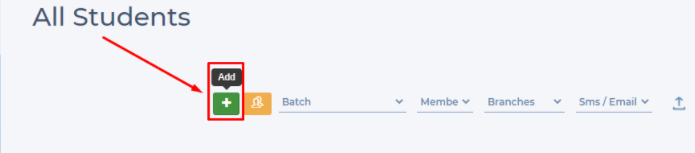
Click "+Add".
- Provide name and surname.
- Choose the branch which this student belongs to.
- Provide students e-mail address. (If you provide a real e-mail address, student will benefit from receiving login information, confirming their registration, live classroom e-mail notifications, exam notifications and forgotten password recovery.)
- Provide username. (Can be same with the e-mail address.)
- Provide password.
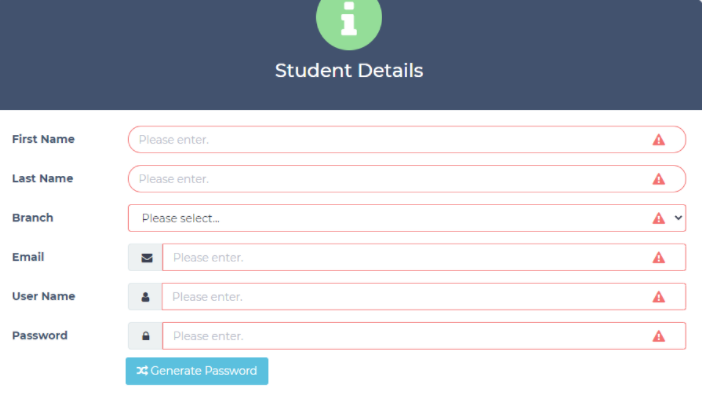
Warning: An e-mail address and a username can only be used once. You cannot provide an existing e-mail address or existing username to a different user, regardless of their user roles.
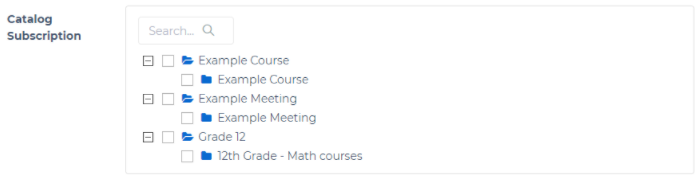
- After providing account details, you can optionally choose to which catalog subscriptions this student is registered to.
Tip: Catalog subscriptions represent course catalogs. When you register students into a catalog subscription, students will be registered into courses that are associated with the same catalog as the catalog subscription. You can read more about Managing Course Catalog.
Following these steps;
- You can provide your date of birth. (Optional)
- You can provide the GSM number. (Optional)
- You can provide a description.(Optional)
- If you check the "e-mail confirmed?" checkbox, these students' accounts will be confirmed initially, meaning students can log in right away. If you leave the box unchecked, students will have to confirm their registration with the e-mail sent to their address before logging in.
- If you assert a daily life lesson limit to a student, this student will not be able to attend more live classrooms daily than the limit you provide.
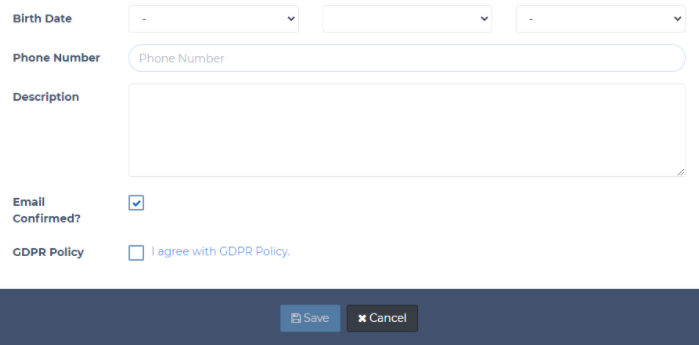
- After accepting GDPR policy, click "Save".
Batch student registration
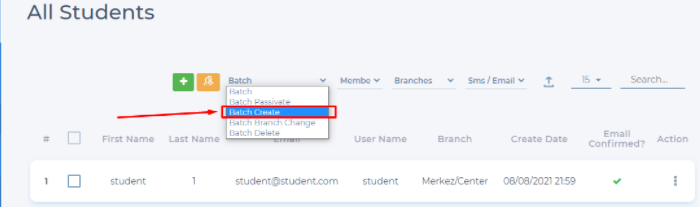
Students are batch registered in the system with the help of a valid Excel file. Log in as administrator and click "Students."

Click the "+Batch Create" button.
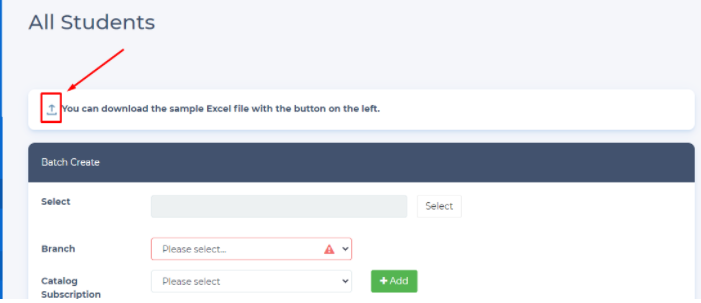
-Download the sample excel file.
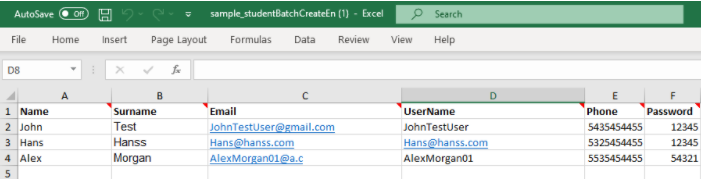
-Fill in the Excel file. Since every Excel file will represent a group of students for a single branch, you will need to use as many Excel files as the number of your branches. Name, surname, e-mail, username, and password are mandatory fields. Every column after the password is the column that you can use for optional information.
E-mail addresses can be the same as usernames. If you provide valid e-mail addresses, students will be included in the mail traffic, including reminders, announcements, and custom batch e-mails.
After you fill the Excel, save it.
Upload the excel file you just edited. Then, select the branch to which the students in your Excel belong to.
Optionally, you can add catalog subscriptions for students in your excel. This way, you can both register your students and match them with their courses.
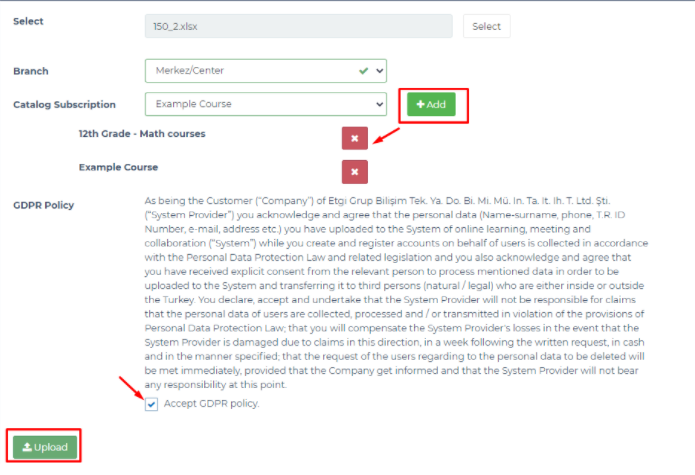
Accept the GDPR and upload.
The student list in the Excel file will appear in a list view. The records with a green background and a tick in the last column are the students who will be registered to the system without any problems. If a row has a red background and a cross is found in the last column, this registration will fail. (Failed registrations do not affect successful registrations.) Under the Error Message column, there will be an explanation of why it failed, for example, if the password field is blank or a previously used email and username are used.
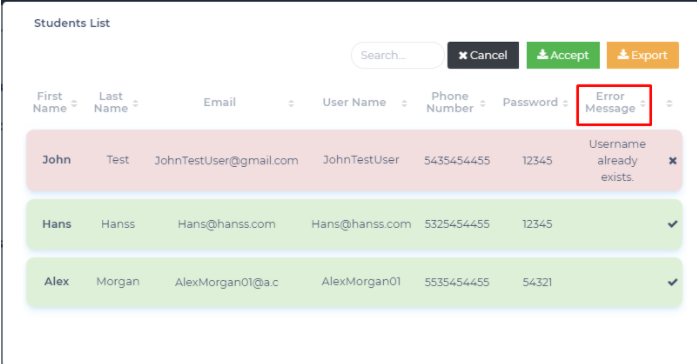
After verifying, you can complete your registration by clicking the "Accept" button.